Chemtec CHEM PROOF RAPID
A moisture-barrier epoxy primer we consider when the concrete assessment calls for moisture control. It is a primer, not the clear finish, and it is not needed on every slab. See Chemtec product details ↗
Plan your Windsor–Essex floor. Send photos for a quote conversation. Visits by appointment.
 Epoxy Lab Inc.
THE ROSE CITY CUSTOMS EPOXY LAB INC. SYSTEM
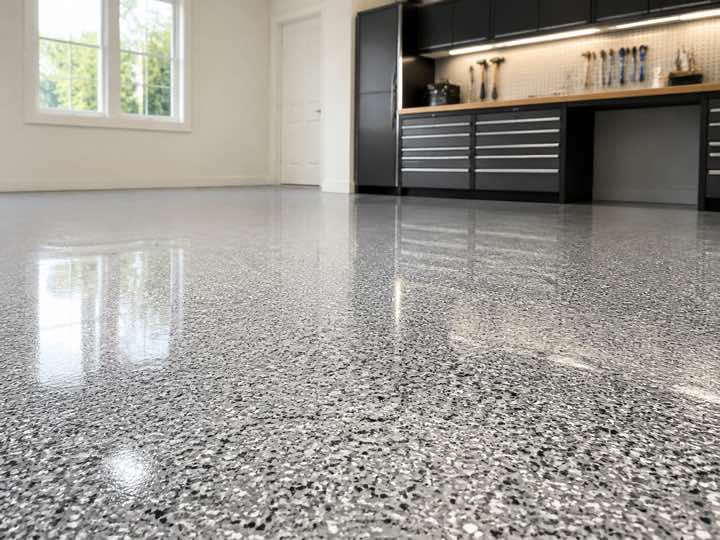
Our standard decorative flake floor is a full-broadcast epoxy and polyaspartic system. Each layer has a job, and the final recommendation always starts with the concrete in front of us.
CLICK THROUGH THE BUILD
Choose a stage to see what changes beneath the finished surface. Each picture is part of the real build—not stock filler.
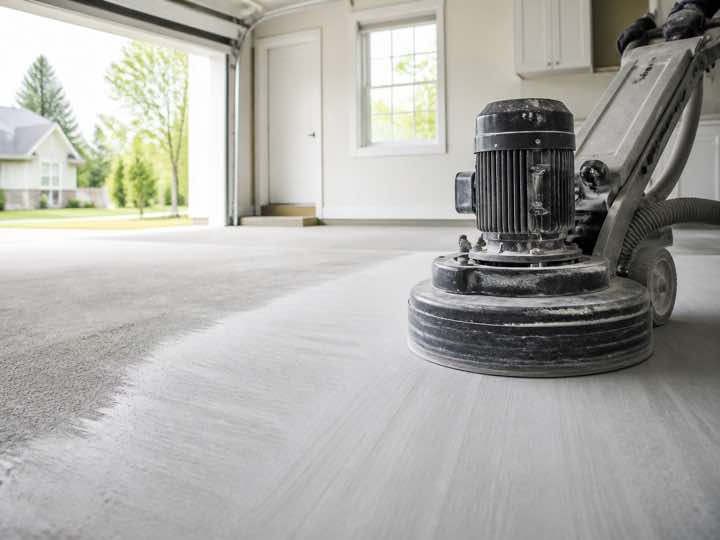
We start by looking at the slab, then mechanically diamond grind to create a clean, sound surface profile that the system can bond to.
Every build starts with the concrete.Tip: click a step, or use your keyboard arrows, to move through the build.
THE MATERIALS WE USE
Rose City Customs works with both LabSurface and Chemtec resin and coating systems, paired with Torginol decorative flake when the design calls for it. The exact primer, build coat, decorative media, topcoat, texture and cure schedule are selected for the slab, the room and the manufacturer’s current instructions.
A moisture-barrier epoxy primer we consider when the concrete assessment calls for moisture control. It is a primer, not the clear finish, and it is not needed on every slab. See Chemtec product details ↗
Depending on the slab and room, the body coat may use a LabSurface epoxy such as LABPOX 30 or a Chemtec epoxy such as CHEM 100. The written proposal confirms the selected manufacturer, product, colour and application requirements. See the products we use ↓
Domino is the black, white and grey blend we are starting with for our featured flake direction. The ¼-inch profile is available from Torginol. Other blends remain available to explore, and the final colour is checked against a physical sample. See Torginol Domino ↗
The final wear layer is selected from the LabSurface or Chemtec system that fits the build, room and current product data. The exact product and return-to-service schedule are confirmed before installation. Compare the product roles ↓
LABSURFACE + CHEMTEC + TORGINOL
We use products from both LabSurface and Chemtec, then name the exact products selected for your concrete in the written proposal. Every project does not use every product shown here.
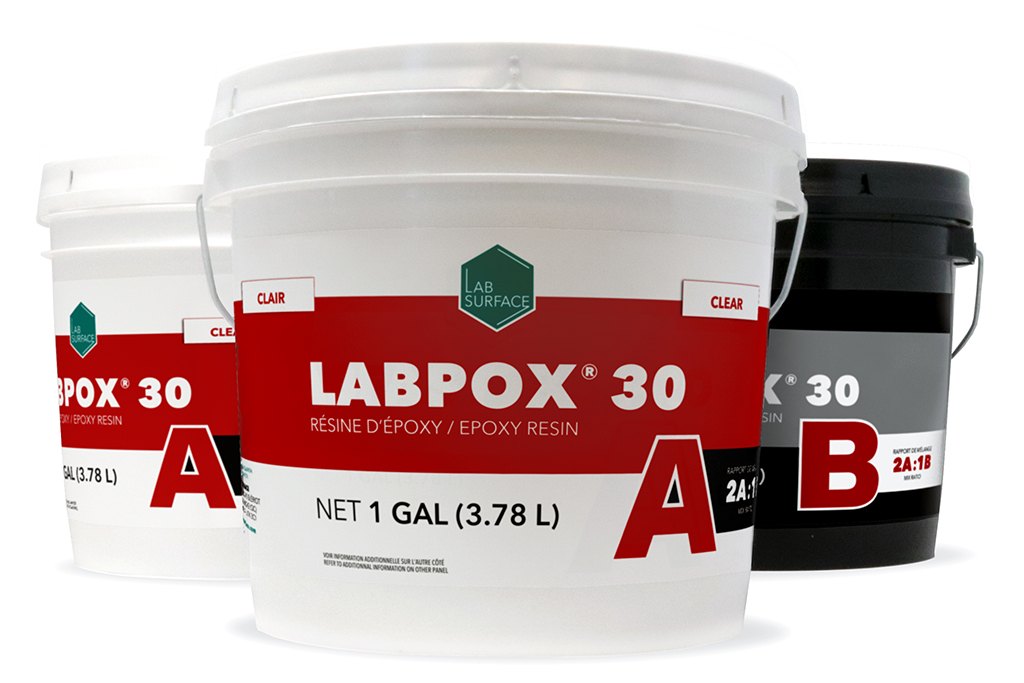
A high-build epoxy option considered for body and build in suitable interior coating systems.
Official LabSurface site ↗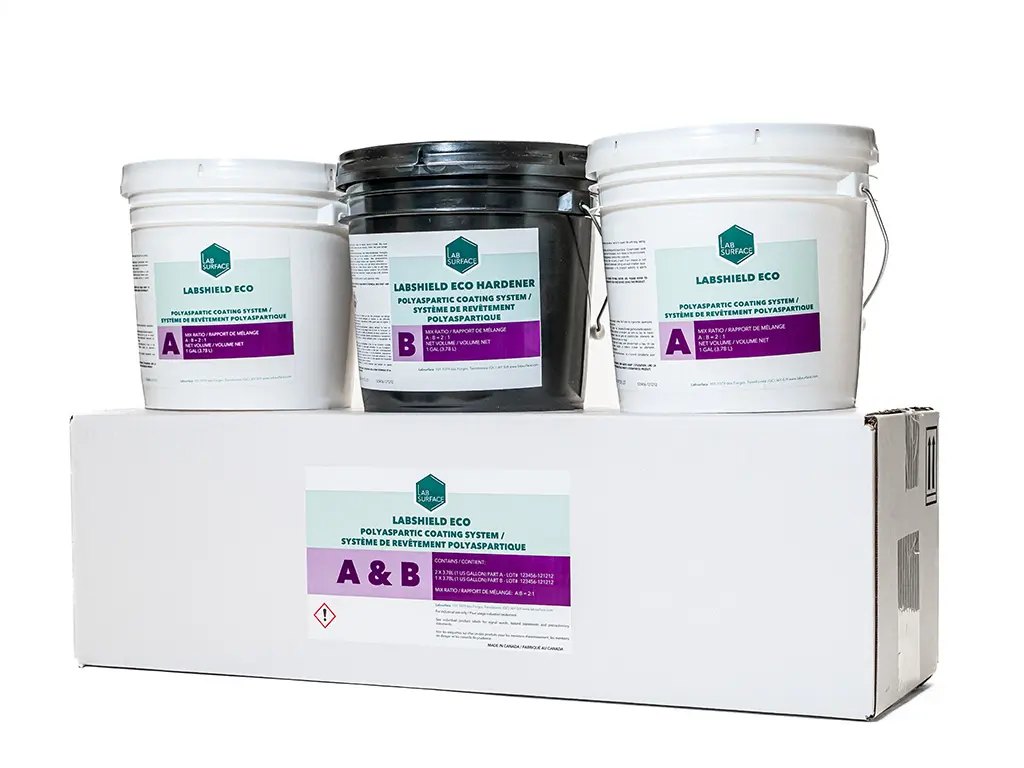
A water-based finish option considered where the room, system and current product data make it appropriate.
Official LabSurface site ↗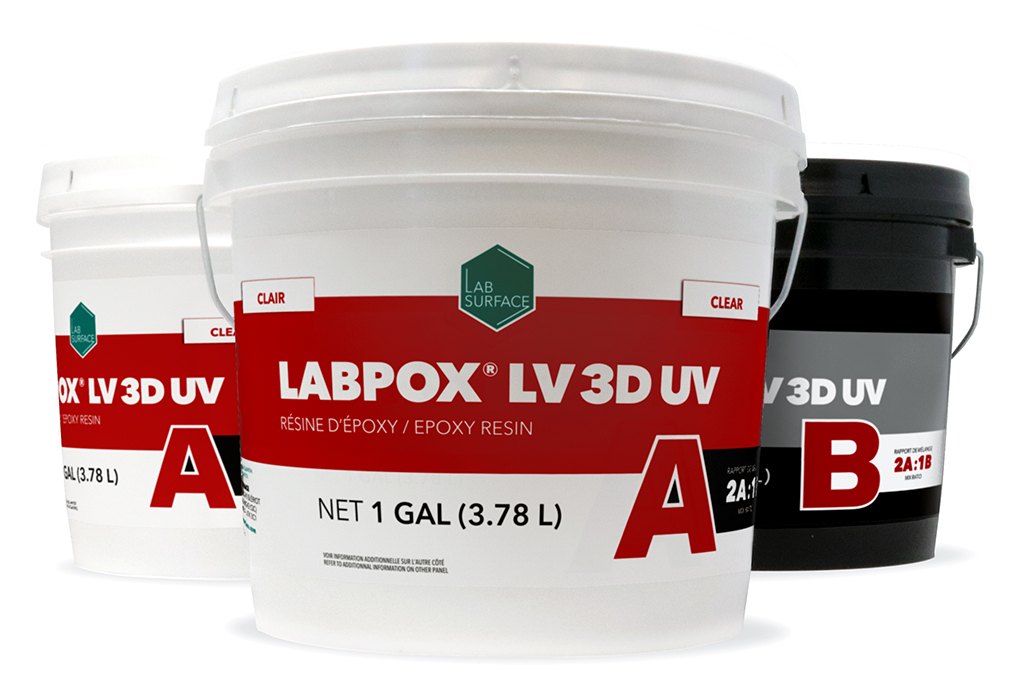
A clear, low-viscosity epoxy option associated with decorative and design-focused resin work.
Official LabSurface site ↗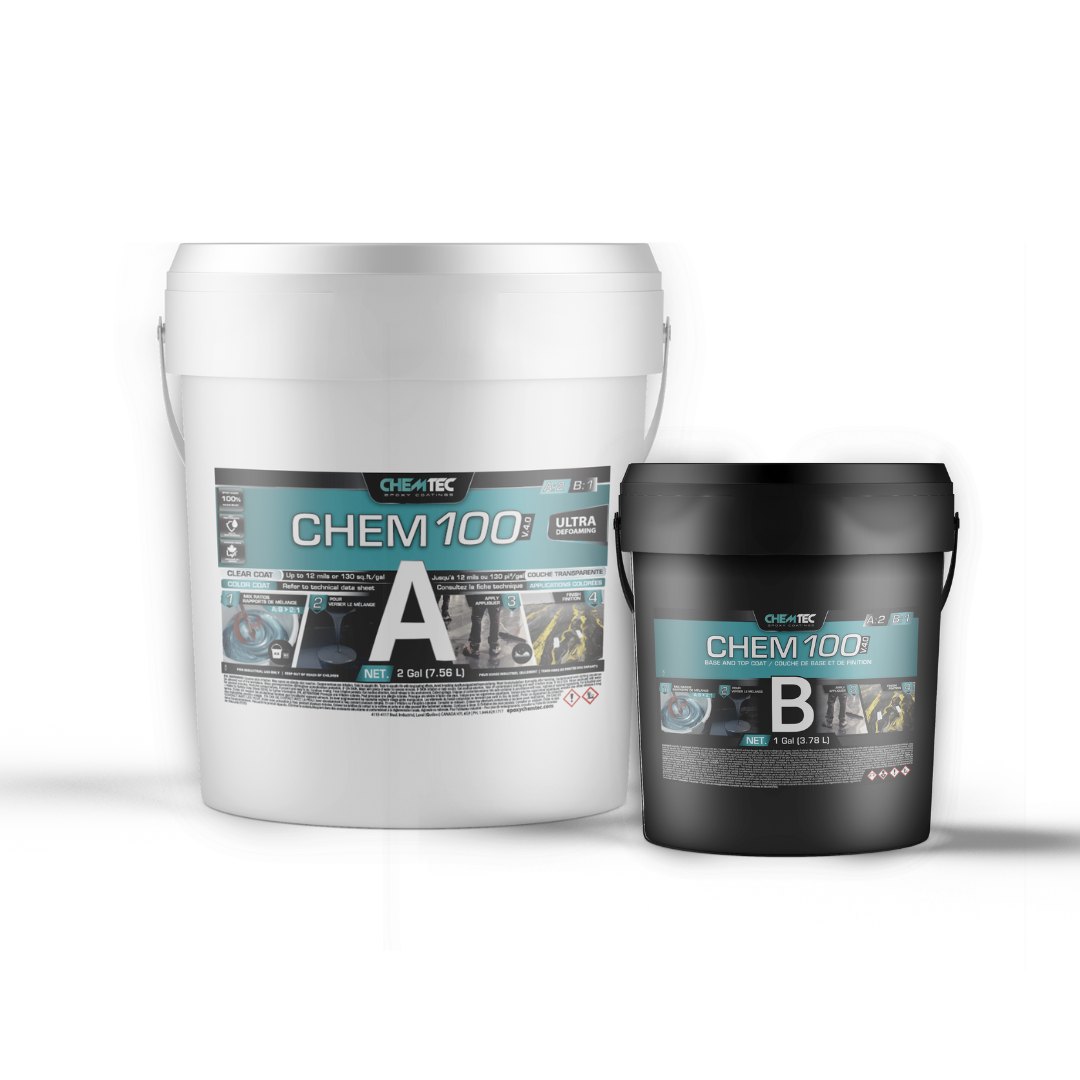
A pigmented epoxy base option we use for suitable decorative broadcast systems.
Official product page ↗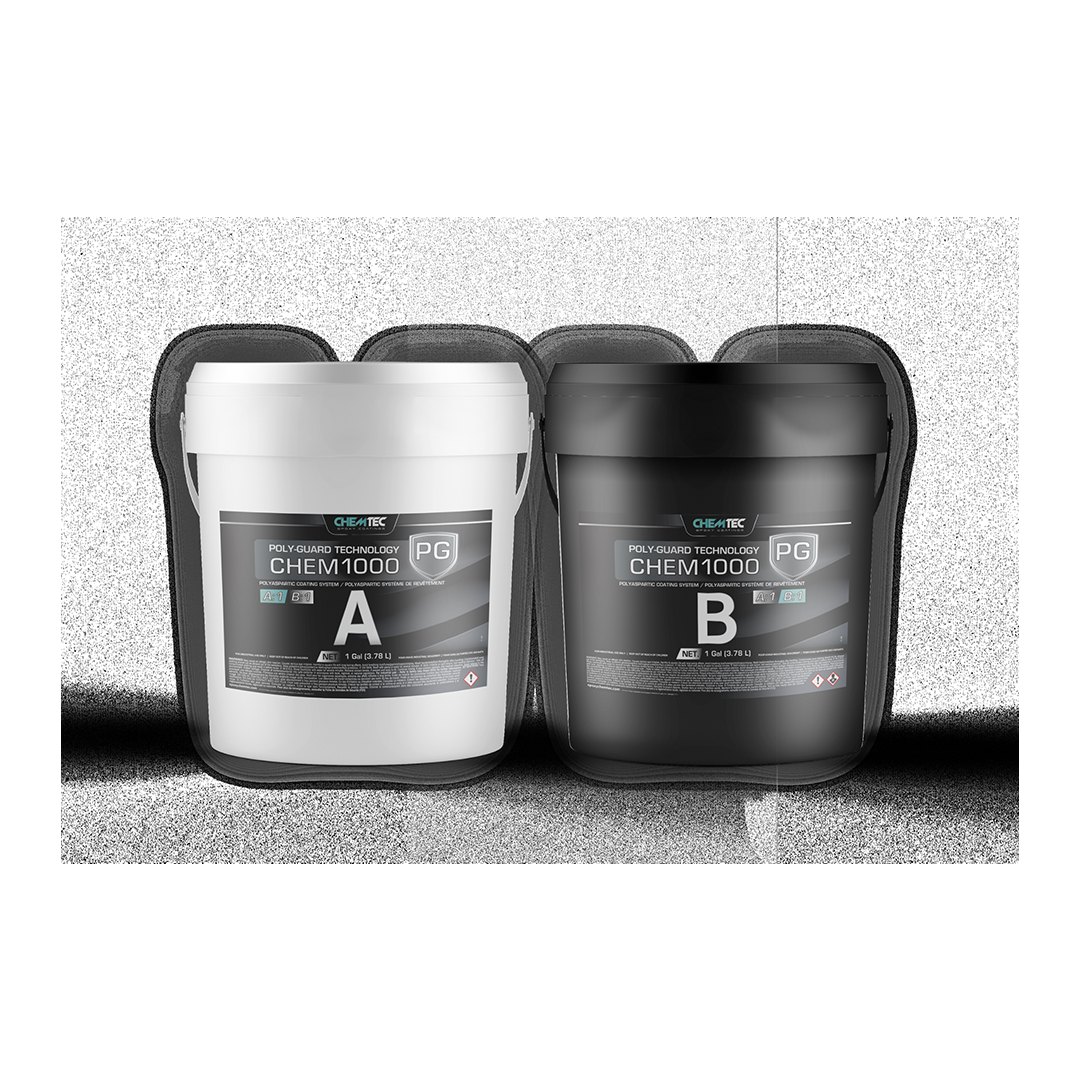
A polyaspartic coating option considered as the clear wear layer over selected floor builds.
Official product page ↗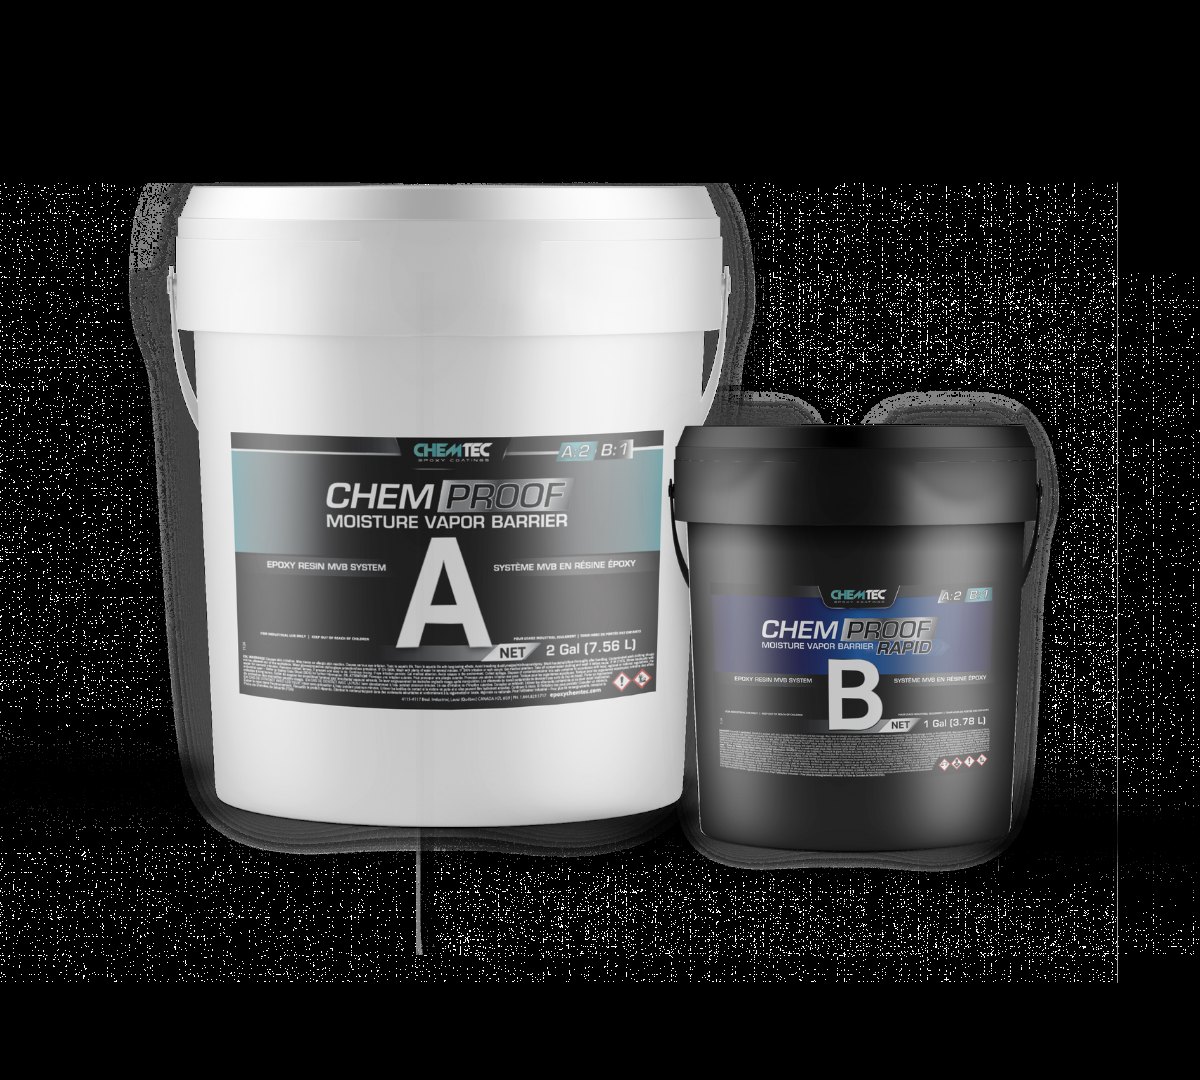
A moisture-barrier primer considered when testing and the selected system call for moisture control.
Official product page ↗THE DOCUMENTED PREP & MOISTURE PROTOCOL
A coating system is only as reliable as the concrete below it. The job record follows the slab from the first inspection through testing, preparation, application conditions, and return-to-service instructions.
The next direction is an approved mitigation system, a different floor plan, or no coating. A decorative coating is never presented as a fix for active water entry.
Document age, grade level, known vapour barrier, water history, drains, cracks, joints, old coatings, contamination, repairs, edges, and intended use.
The selected manufacturer’s current technical data sheet controls the acceptable moisture limit, required surface profile, application conditions, coat sequence, and cure schedule.
Use ASTM F2170 in-slab relative-humidity probes or ASTM F1869 calcium-chloride testing when the selected system or project conditions call for it. Handheld meters may screen the slab; they are not presented as a substitute for a required ASTM test.
The work plan calls for shrouded grinding connected to HEPA dust extraction, a controlled work area, and HEPA or wet cleanup. Dry sweeping and compressed-air cleanup are not part of the protocol. Task-specific respiratory protection is used when the exposure assessment requires it.
Mechanically diamond grind or shot blast the slab to the profile required by the selected system. Prepare edges and detailed areas, then remove laitance, weak material, old coatings, oil, contamination, and dust.
Address cracks and spalls named in the written scope. Moving construction, isolation, control, and expansion joints remain treated as moving joints rather than being disguised as stable concrete.
Record air and concrete temperature, relative humidity, dew point, product and batch information, mix details, coat sequence, coverage, and the actual site conditions that affect cure.
Save before, preparation, test, application, and completion photos. Provide the confirmed return-to-service schedule and care direction for the installed system.
THE LAYERS
We look at the age of the concrete, existing coatings, cracks, spalls, contamination, moisture risk, edges and how the space will actually be used. This tells us whether the floor needs more repair, a primer, or a different system recommendation.
Grinding opens the concrete and creates a clean surface profile for adhesion. It is the difference between building onto sound concrete and hoping a coating sticks to whatever was on top before.
Cracks, chips, spalls and transitions are dealt with before the finish goes down. Repair is not an add-on to hide later; it is part of creating a surface that looks intentional when the lights hit it.
Where the slab and selected system call for it, we start with a primer. Then a pigmented, high-build epoxy base creates the continuous layer that holds the decorative flake. The base colour is selected to support the final blend.
Vinyl flakes are broadcast to refusal for even coverage, depth and texture. It gives the floor its visual identity while helping create a more forgiving, traction-friendly surface than a plain glossy coating.
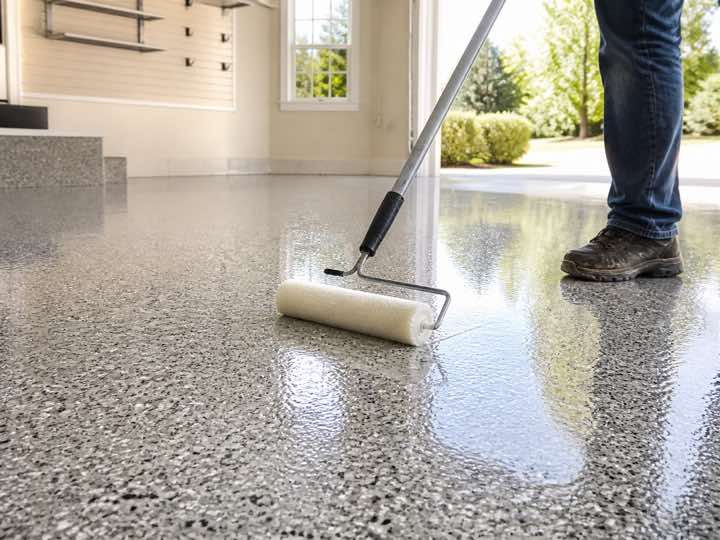
Once the broadcast is set, loose material is removed and the surface is prepared for a clear polyaspartic topcoat. The topcoat seals the flake, develops the finished feel, and protects the investment underneath.
TOPCOAT, EXPLAINED
Our topcoat completes the system. Polyaspartic clear coat is selected for a durable, UV-stable finish so the floor keeps its depth and stays easier to clean in real garages, shops and commercial spaces.
Talk about my slab ↗