Plan your Windsor–Essex floor. Send photos for a quote conversation. Visits by appointment.
PLAN YOUR WINDSOR–ESSEX FLOOR✦SEND PHOTOS FOR A QUOTE CONVERSATION✦VISITS BY APPOINTMENT✦PLAN YOUR WINDSOR–ESSEX FLOOR✦SEND PHOTOS FOR A QUOTE CONVERSATION✦VISITS BY APPOINTMENT✦
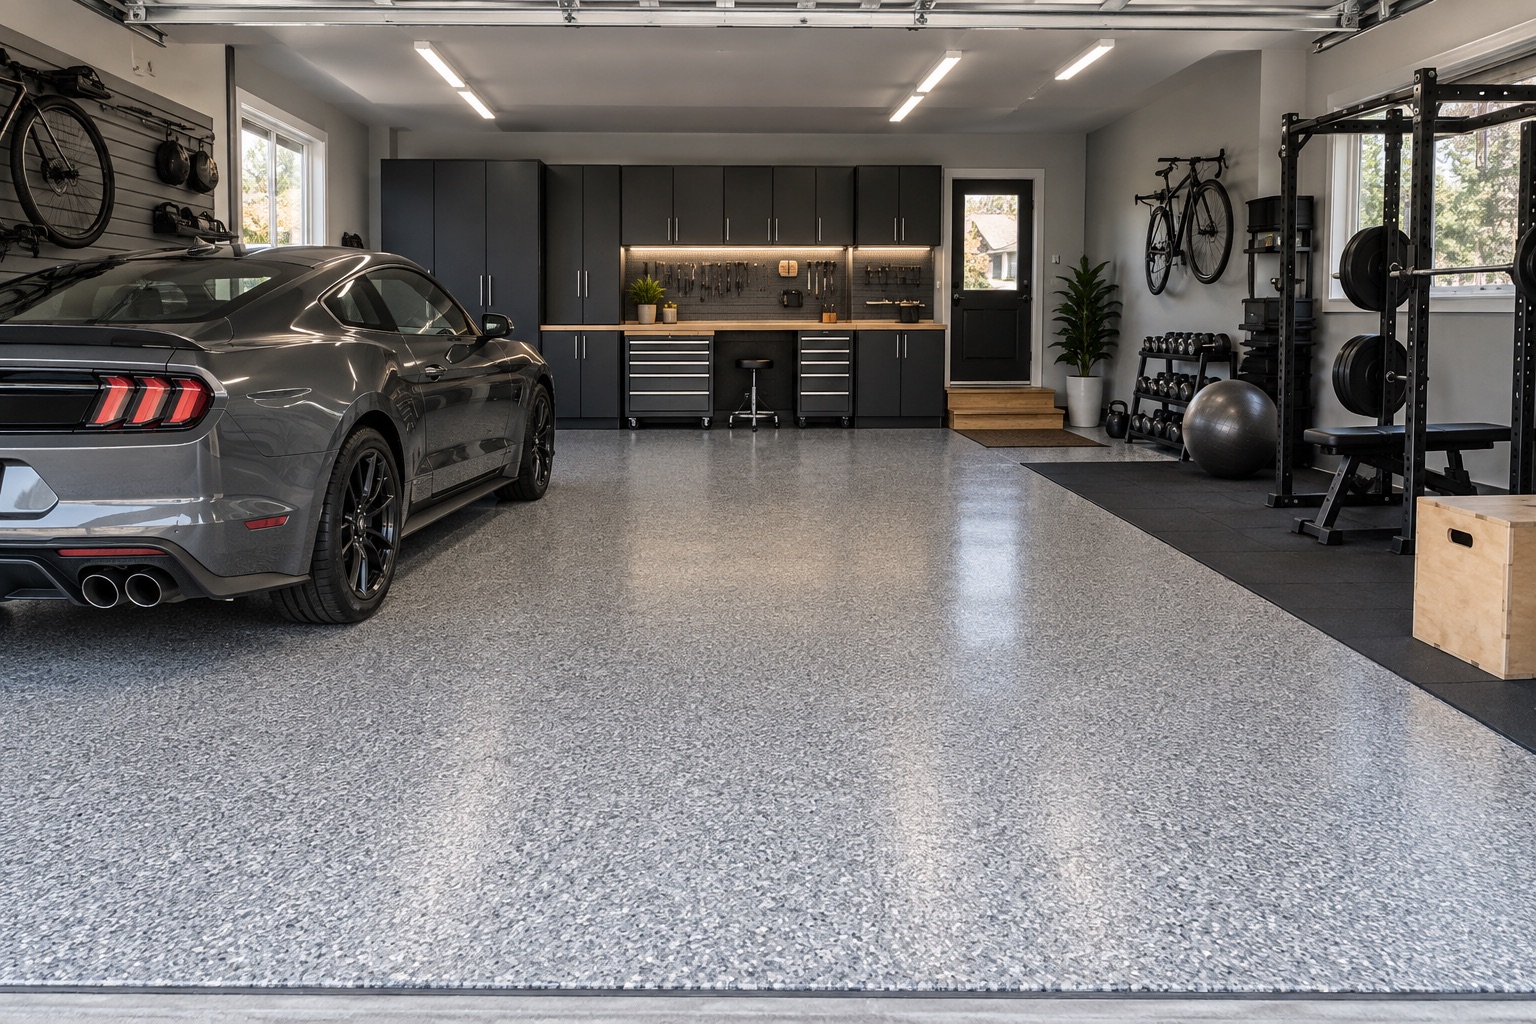
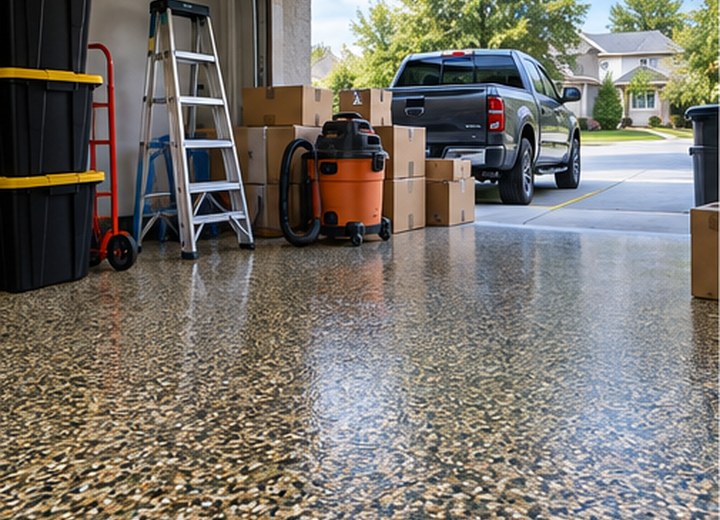
Plan the floor with the whole garage: slab condition, vehicles, storage, lighting, walls, colour, transitions and the way the room needs to work.
By Rose City Customs — The Epoxy Lab™
A complete makeover connects the floor with everything that happens above it.
THE 30-SECOND ANSWER
A floor can change the garage, but it works best when it belongs to a larger plan. Decide whether the room is primarily for parking, storage, a workshop, a gym, a vehicle collection or a mix. That decision affects finish, texture and layout priorities.
VISUAL GUIDE
Build the garage plan in four layers
Work from function to finish so the room stays practical after the reveal.
USE
Map the room
Parking, storage, tools, training and display zones set the priorities.
SLAB
Inspect below
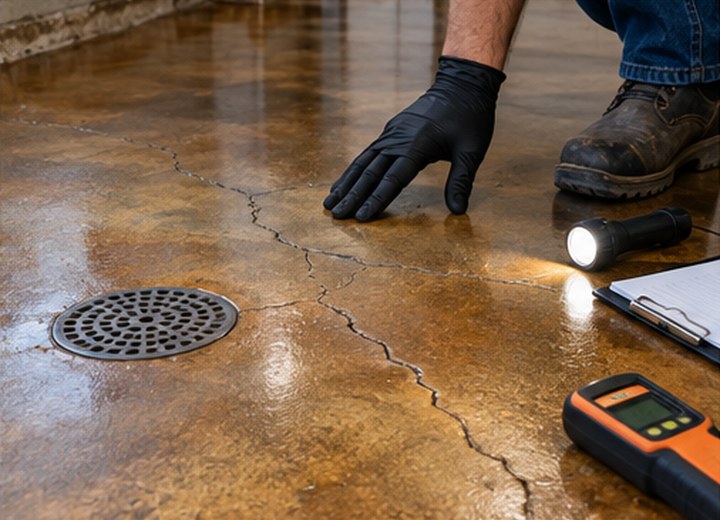
Cracks, old coatings, drains, slope, moisture history and edges define the scope.
LOOK
Choose the direction
Coordinate flake or resin colour with light, walls, cabinets and vehicles.
MOVE
Plan the reset
Schedule clearing, alternate parking, cure milestones and equipment return.
What matters in practice
Photograph and measure the empty room before selecting colour. Record cracks, pits, drains, thresholds, steps, wall edges, fixed cabinets, hose connections and any place water sits. Those details become part of the floor scope instead of surprises during installation.
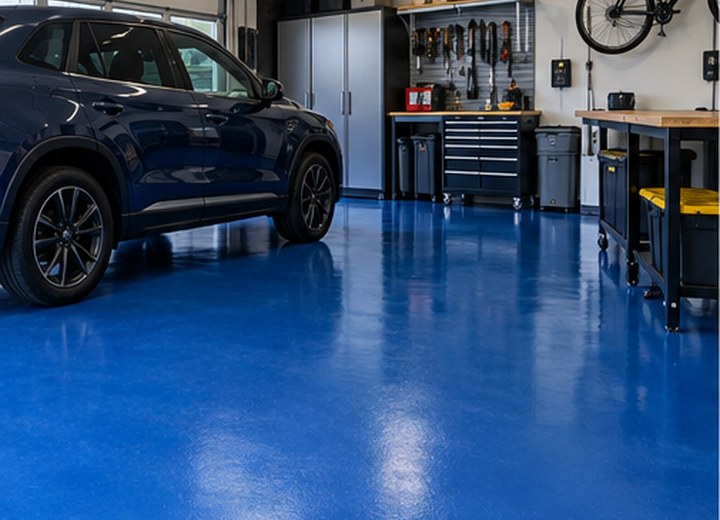
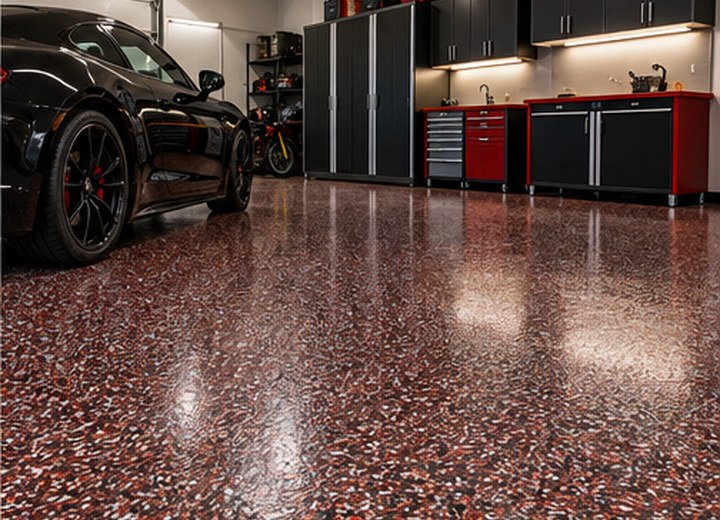
Choose the visual direction with the elements that are staying. Warm brick, cool grey walls, black cabinets, wood storage, bright lighting and vehicle colours can all change how a flake or metallic sample reads.
Finish the plan with logistics: clearing the room, alternate parking, installation access, cure milestones and the order in which storage or equipment returns. A successful makeover feels organized because the function and the floor were planned together.
The empty-garage photo list
A useful planning set can be captured in a few minutes before storage returns.
View from the driveway
View from each back corner
Close-ups of cracks and pitting
Drain, threshold and steps
Walls, cabinets and lighting
Areas under parked tires
Any old coating or adhesive
Make the finished garage easier to live with
Leave space to clean edges, use pads under heavy equipment, keep abrasive grit under control and choose storage that does not force items to drag across the floor.
COMMON QUESTIONS
Quick answers before you plan.
Should cabinets be installed before or after the floor?+
It depends on whether they are fixed, how the floor should terminate and the renovation sequence. Decide early so edges and access are intentional.
Can a garage gym share space with vehicles?+
Yes, but equipment zones, mats, point loads, cleaning and vehicle paths should be planned before choosing the final texture and layout.
What is the best first step?+
Empty enough of the garage to photograph the slab, record approximate dimensions and identify how you want the finished room to work.